Dinner Menu, First Full Week of April!
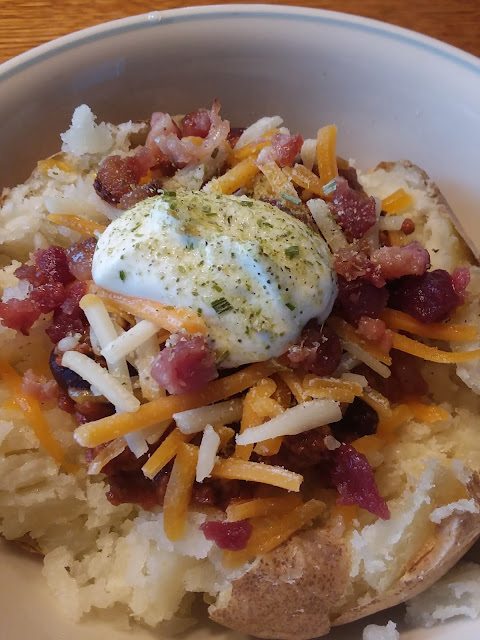
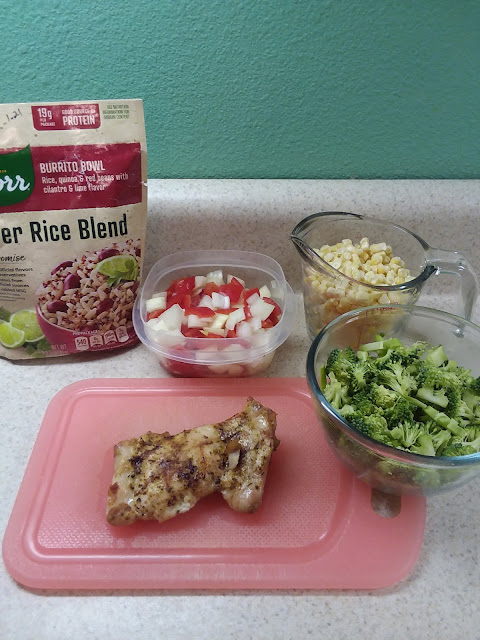
This year is moving quickly! Me...not so much. I had my second vaccine dose late last week. I was a little tired over the weekend, but honestly, it was just a little more than my regular weekend tired. I'm really thankful that my side effects were so mild. Easter dinner. Brussels sprouts went on sale, so we switched that up! We had beautiful weather for Easter weekend. We hid some eggs outdoors, which doesn't always happen here (some years we have snow). We went for walks, called faraway family, and enjoyed a relaxing day. We had a nice meal, too! This is the plan for dinners for the coming week: T. baked potatoes, toppings of choice, oranges W. meatball soup, sliced cheddar, homemade sourdough, apples R. tacos (we are on a bit of a taco kick!), refried beans, pineapple F. vegan 'chicken' nuggets, oven fries, roasted Brussels sprouts, apples S. fancy ramen, fresh fruit S. sausage-potato-onion-vegetable skillet, salad, fresh fruit M. grilled chicken, steamed ri